
If you’ve ever tried satin stitch, you know it’s one of those deceptively “simple” techniques… until you sit down with your fabric and thread and end up with puckering, uneven edges, or stitches that don’t quite shine the way you imagined.

Over the years, I’ve refined a handful of simple tweaks that make a huge difference. Here are two of my favorites:
1. Stabilize before you stitch.
A lightweight fusible stabilizer behind your fabric prevents puckering and gives your stitches that smooth, satin-like finish. I love Sulky Totally Stable (though freezer paper will do in a pinch).
2. The Golden Rule of Turning:
- Turning RIGHT (clockwise)? Stop with your needle DOWN on the LEFT
- Turning LEFT (counter-clockwise)? Stop with your needle DOWN on the RIGHT
Another way to say this: when going around an outer curve or corner, have your needle on the inside. When going around an inner curve or corner, have your needle down on the outside.
Why does this matter? If you are not following these guidelines, when you start going around curves and corners, you’ll have a bunch of gaps in your stitches. When you follow this trick, your stitches will overlap instead, keeping a nice solid stitch line.
And those are just the beginning. I’ve put together my Perfect Satin Stitch Guide that walks you through:
-
My step-by-step process for getting smooth curves, pointy points, and sharp corners (no gaps or stray stitches!)
-
Tools and materials that make satin stitch effortless.
-
Common mistakes and how to fix them.
👉 Download the Perfect Satin Stitch Guide for free, here
Once you start using these techniques, your applique work will look smoother, sharper, and so much more professional.
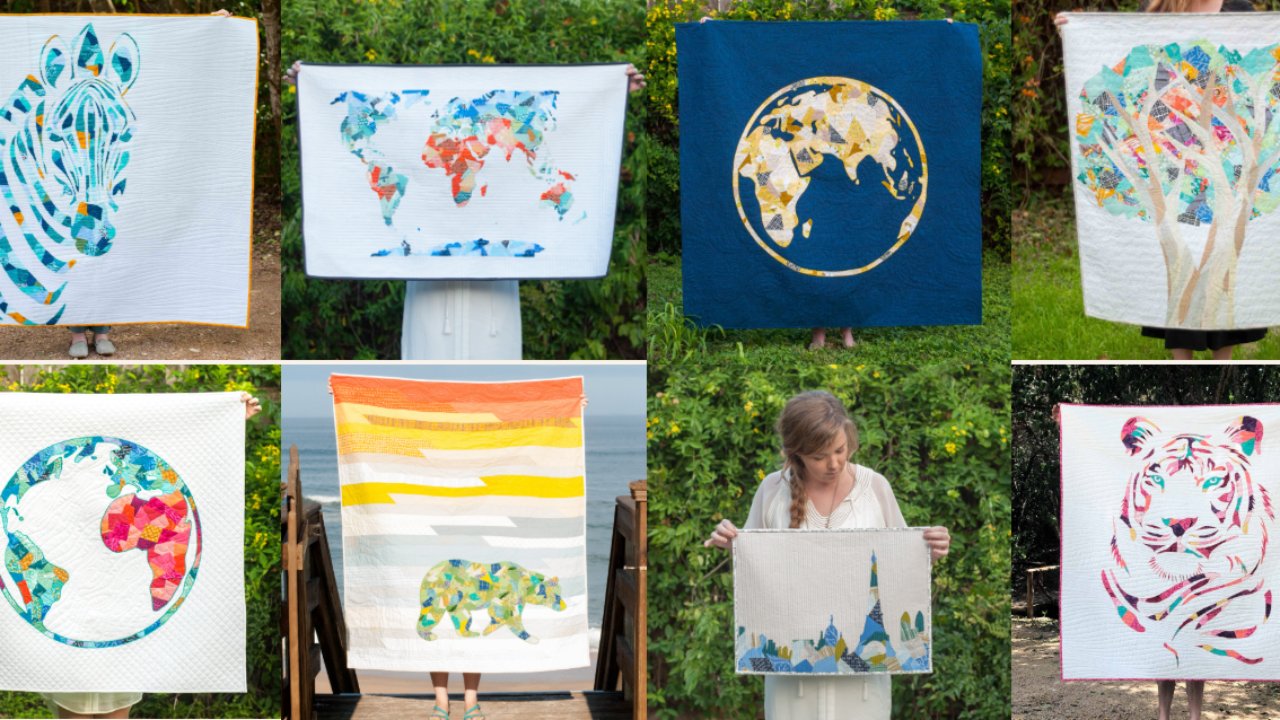
And if you’re ready to put these skills into practice and create stunning quilts with a unique, modern twist… my Scrappy Appliqué Workshop is the perfect place to start. It’s where you’ll take the satin stitch (and so much more) and turn it into quilts that are bold, colorful, and uniquely you.
Join the Scrappy Appliqué Workshop here
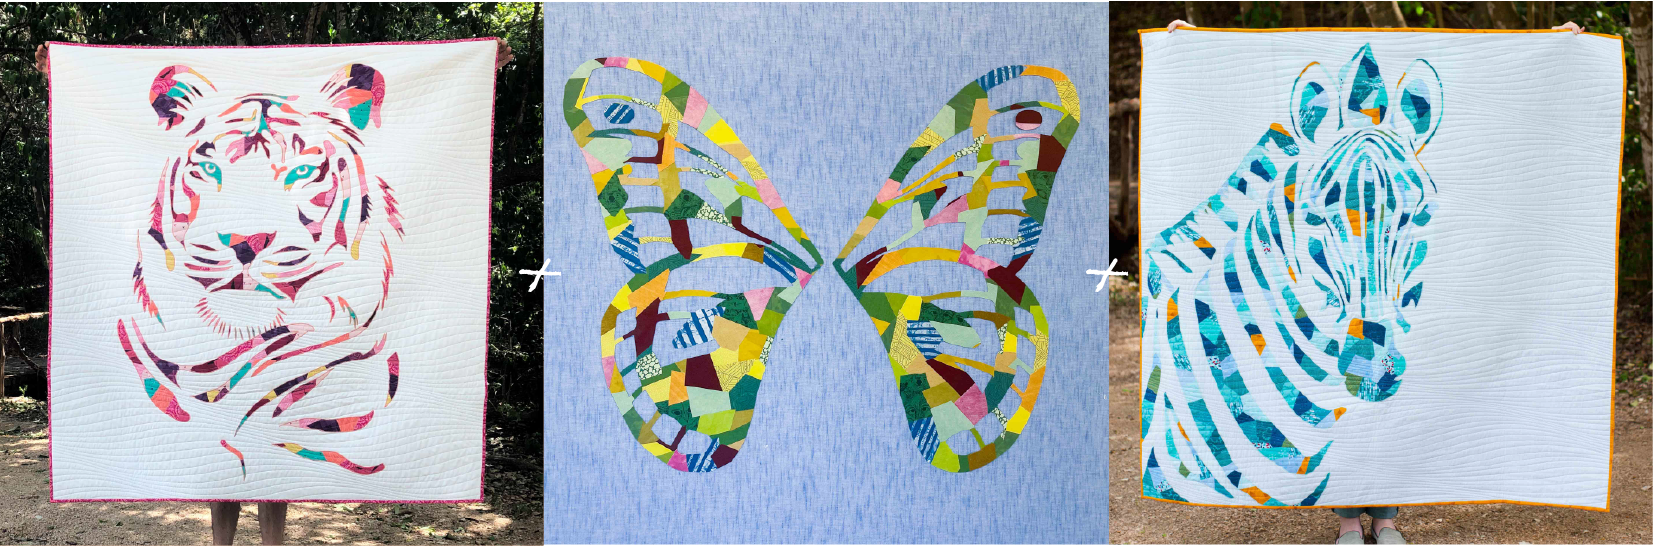
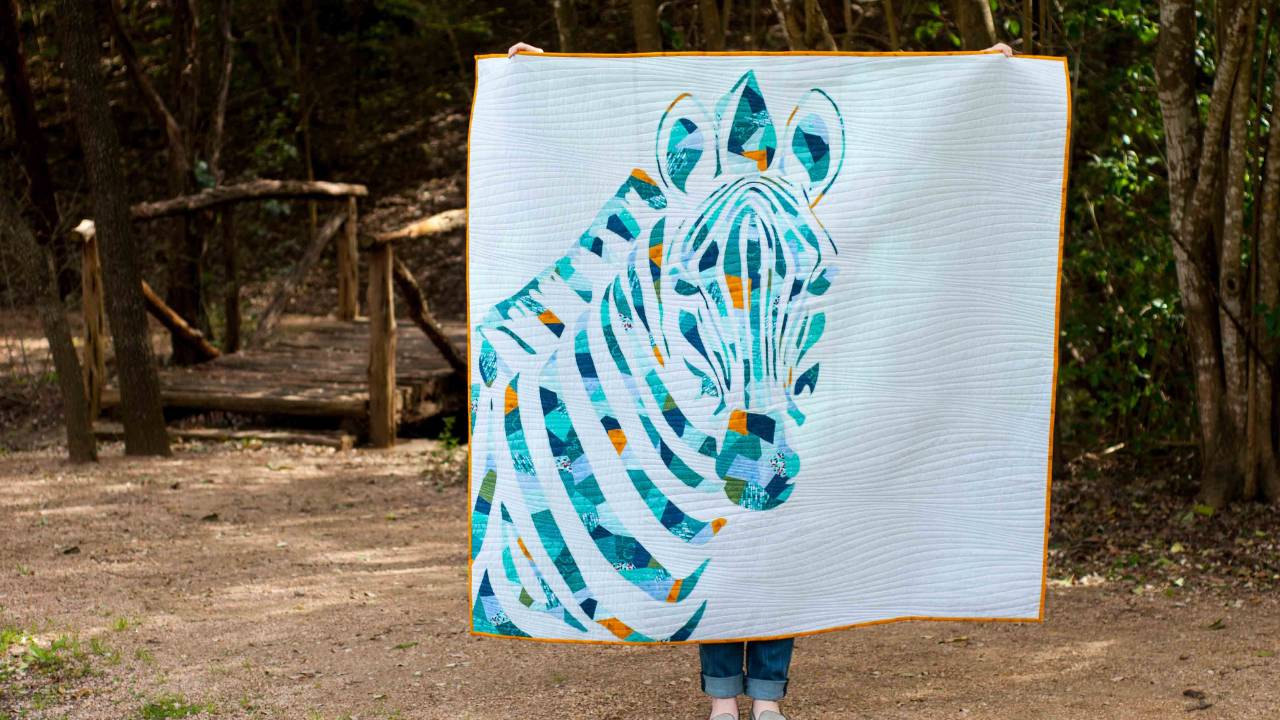
And when you join now, you’ll also receive a bonus pattern bundle—a curated collection of some of my most popular Scrappy Appliqué designs (the 3 patterns pictured above!) to help you dive in and start making right away.

Responses